Silicone Roof Coating in San Francisco — Extend Your Flat Roof by 10+ Years
Somebody’s neighbor always has the story. “My guy painted over the old roof, guaranteed twenty years, cost me a fraction of what a new roof would’ve.” It shows up on local forums constantly, and it’s not wrong, exactly — it’s just missing the part that actually determines whether that twenty-year promise holds up or falls apart in year three.
Silicone roof coating is a real, legitimate way to extend the life of a flat roof, and for a lot of San Francisco homes, it’s genuinely the smartest money you can spend on the roof this year. It’s also a product category with a wide gap between “done right” and “done cheap,” and that gap is exactly where a lot of homeowners end up disappointed.
This page is the honest version. What the coating actually is, when it makes sense for your specific flat roof, what proper installation looks like versus a shortcut job, what it costs, and how it compares to just replacing the roof outright.
Inner Sunset Roofing Services SF
What Is Silicone Roof Coating?
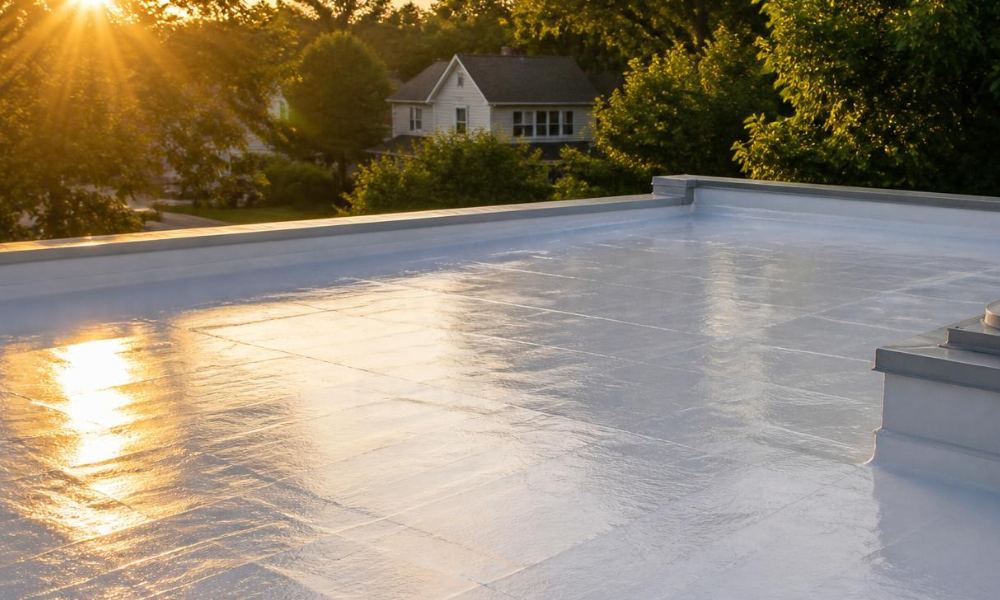
At its simplest, silicone roof coating is a liquid-applied, spray or roller-applied membrane that goes directly over an existing flat roof surface, curing into a seamless, monolithic waterproof layer. No tear-off, no new deck, no torch. You’re adding a protective skin over what’s already there.
Silicone vs Elastomeric vs Acrylic — What’s Actually the Difference
This trips people up constantly, and honestly the marketing around these products doesn’t help. Elastomeric is a broad category term — it just means a coating that stretches and returns to shape, which describes silicone, acrylic, and several other chemistries all at once. Silicone is one specific type of elastomeric coating, not a separate category from it.
Acrylic coatings are generally cheaper and more common on steeper, pitched applications, but they lose thickness over time — roughly a mil per year of coverage — and they don’t handle standing water nearly as well. Silicone genuinely resists ponding water without breaking down, which is exactly the condition most San Francisco flat roofs deal with regularly. That resistance to ponding is the single biggest reason silicone, specifically, is the right call for a flat SF roof rather than acrylic.
Reflective Roof Coating and Title 24 Cool Roof Compliance
Most silicone coatings are white or light-colored, which makes them highly reflective — this isn’t just an aesthetic choice, it directly reduces how much heat your roof absorbs. For San Francisco specifically, this matters for California’s Title 24 Energy Code, which requires low-slope roofs undergoing significant re-roofing work to meet minimum solar reflectance standards.
A properly specified silicone coating with the right reflectance rating can satisfy that cool-roof requirement without the cost of a full membrane replacement, which is a detail a lot of homeowners don’t realize is even an option until someone tells them.
Is Silicone Coating Right for Your SF Flat Roof?
This is the question that actually matters, and the honest answer is: sometimes, and it depends entirely on what’s already going on with your roof.
When Coating Genuinely Makes Sense
If your existing flat roof — whether that’s modified bitumen, a torch-down system, or an aging built-up roof common on older Sunset District and Mission District rowhouses — is structurally sound and just showing its age, coating is a strong option. Minor surface wear, early UV degradation, small isolated repairs already patched, no active widespread leaking. That’s a good coating candidate.
Coating works especially well as a proactive move rather than a reactive one. If your roof passed a recent inspection with only cosmetic notes, applying a coating now, before real degradation sets in, gets you meaningfully more life out of the investment than waiting until the roof is already failing.
When Coating Is the Wrong Answer
If the membrane underneath has significant structural failure, multiple active leaks, or the decking beneath it is already compromised, coating over that is exactly what one blunt tradesperson we’ve heard described as putting a band-aid on a serious wound. It might buy you a season. It won’t fix the actual problem, and you’ll likely end up paying for both the coating and the eventual replacement.
We’ll tell you honestly which category your roof falls into during an inspection. If coating isn’t the right move for your specific roof, we’ll say so rather than sell you a coating job that’s destined to fail early.
Prep Work Is the Entire Ballgame
Here’s the part that separates a twenty-year silicone system from a two-year disappointment, and it’s not really about the silicone itself. It’s the prep. The roof surface needs to be properly cleaned, any existing deficiencies repaired first — not coated over — and a compatible primer applied before the silicone goes down.
Skipping primer to save a little on labor is a well-documented way coatings fail early, especially in areas where water tends to pool even briefly. We prime every job, every time, because the alternative is warranty-voiding corner-cutting that shows up as a problem in year two or three, not day one.
Reinforcement at Seams and Penetrations
Any place your roof has a seam, a flashing detail, a pipe boot, or a transition to a wall or parapet is a place where a straight coating application alone isn’t enough. Reinforcing these spots with embedded polyester fabric — essentially building a stronger, fabric-backed layer of coating exactly where stress concentrates — is what pushes a system from a five-year patch into genuine fifteen-to-twenty-year territory.
If a contractor’s quote doesn’t mention reinforcement at seams and penetrations specifically, ask why. That detail is often the actual difference between the products that hold up and the ones that don’t.
Silicone Coating in San Francisco — Cost and Timeline
Real numbers, and real context for why they vary as much as they do.
What Drives the Price
Cost depends on square footage, the amount of prep and repair work needed before coating, whether reinforcement is required at seams and penetrations, and the mil thickness being applied. A properly specified system, applied at the coverage rate that actually delivers a long-term result — commonly cited in the industry as roughly 2.5 gallons per hundred square feet for a genuine twenty-year silicone system — costs more than a thin, quick pass, and for good reason.
Quotes for silicone coating jobs in the Bay Area have varied wildly enough on local forums that homeowners regularly ask why the numbers don’t match between contractors. Almost always, it comes down to scope — one bid includes full prep, primer, and reinforcement; another is quoting a bare minimum single coat with none of that.
How Long a Properly Applied System Actually Lasts
Pure, correctly specified silicone coating can last decades when applied to spec — some documented commercial installations have carried twenty-year watertight warranties from reputable manufacturers when installation was verified with post-application inspection and core sampling. Cheaper, cut formulations blended with other compounds to lower cost can drop that lifespan dramatically, sometimes under ten years, which is exactly why brand and formulation matter as much as the fact that it’s “silicone” at all.
Recoating every seven to ten years, rather than waiting for full failure, is standard maintenance practice and extends the system indefinitely at a fraction of the cost of a new roof each time.
Timeline for Application
Once the roof is properly cleaned, repaired, and primed, the actual coating application for a typical San Francisco flat roof — the kind you’d see on a Sunset District addition or a SoMa commercial building — generally takes one to a few days depending on square footage and whether reinforcement work is needed at multiple penetrations. Weather matters here too; the roof needs to be dry and within the manufacturer’s temperature window for proper curing, which we plan around rather than rush through.
Silicone Coating vs Full Replacement
The honest comparison, not the sales pitch version.
The Cost Case for Coating
Coating a structurally sound flat roof costs meaningfully less than a full tear-off and replacement of the same square footage, since you’re not paying for new membrane material, full labor for a complete system installation, or disposal of the old roofing. For a roof that’s a genuine coating candidate, this is often the more financially sensible choice, especially if you’re not planning to sell the property in the near term.
When Replacement Is the More Honest Recommendation
If your roof already has widespread failure, if the decking underneath shows signs of moisture damage, or if you’re within a few years of needing replacement anyway regardless of what’s done now, spending on a coating system delays an inevitable cost rather than avoiding it. In that situation, we’ll walk you through the real math on whether coating now and replacing in five years actually costs more than just replacing now.
A Note on Insurance
Worth mentioning directly, since it comes up: some insurers in other states have shown reluctance to write or renew policies on coated roofs, treating a coating as a sign of an underlying issue being masked rather than fixed. This pattern has been most documented in markets like Florida, not California specifically, but if you have any concern about how your carrier views roof coatings, it’s worth a quick call to your insurance agent before committing, particularly given how much more selective California insurers have generally become about aging and flat roofs in the past couple of years.
Our Silicone Coating Process — Step by Step
Here’s exactly what happens on the roof, in order, so there’s no mystery about what you’re paying for.
Free Inspection and Honest Assessment
We get on the roof, assess the existing membrane’s actual condition, check for ponding, active leaks, or decking issues, and tell you honestly whether coating is the right move or whether you’re better off replacing. This is the step that determines everything after it.
Pressure Wash and Surface Cleaning
The roof gets thoroughly cleaned using low-pressure washing, removing dirt, debris, chalking, and any loose or failing material. Skipping this step, or rushing it, is one of the most common reasons a coating fails to adhere properly within the first year or two.
Repair Existing Deficiencies
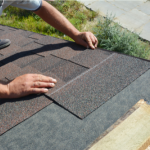
Any cracks, blisters, seam separations, or damaged sections get repaired before anything else happens. Coating over an existing problem doesn’t fix it — it just hides it temporarily, which is exactly how a coating job earns a bad reputation.
Prime the Surface
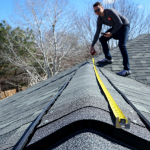
A compatible primer gets applied and allowed to properly cure before coating begins. This step is what a lot of cut-rate coating jobs skip to save a little labor time, and it’s consistently the detail that separates a system that holds up for fifteen-plus years from one that starts failing in year two, especially anywhere water tends to sit even briefly.

Reinforce Seams, Flashings, and Penetrations
Before the main coating goes down, we embed polyester fabric reinforcement at every seam, flashing detail, pipe boot, and roof-to-wall transition — the specific points where stress concentrates and a straight coating application alone isn’t enough on its own.

Apply Silicone Coating at Full Mil Thickness
The silicone coating gets spray- or roller-applied in the manufacturer-specified number of passes, at the coverage rate that actually delivers a long-term system rather than a thin, quick pass. We document the applied thickness so you have a record of what was actually installed, not just a verbal assurance.

Final Inspection and Documentation
Once cured, we walk the finished roof, photograph the completed work, and provide you with documentation of the system installed — product used, thickness applied, and warranty terms. You should be able to see exactly what you paid for, not just take our word for it.